Key Takeaways
-
Oyster mushroom grow bags provide a compact, efficient solution for urban farming enthusiasts.
-
Choosing the right grow bag involves considering material quality, size, and environmental impact.
-
Setting up your grow bag is straightforward—sterilize, inoculate, and maintain the right conditions.
-
Regular monitoring and maintenance are crucial for preventing contamination and ensuring healthy growth.
-
Harvesting at the right time maximizes yield and flavor of your homegrown oyster mushrooms.
Unlock the Potential of Urban Farming with Oyster Mushroom Grow Bags
Urban farming is not just a trend; it’s a lifestyle shift that’s empowering city dwellers to take control of their food sources. And when it comes to high-yield, low-space agriculture, oyster mushroom grow bags are a revelation. These bags are not just space-savers; they’re also a fun, rewarding way to grow your own food. So let’s dive into why these grow bags are a must-have for any urban farmer looking to make a big impact in a small space.
Why Grow Bags Are a Game-Changer in Urban Agriculture
Imagine transforming your balcony, garage, or even a small corner of your kitchen into a mini mushroom farm. That’s the power of oyster mushroom grow bags. These bags bypass the need for extensive soil and large plots of land, making them perfect for the urban environment. They’re portable, reusable, and, most importantly, they create the ideal conditions for mushrooms to thrive.
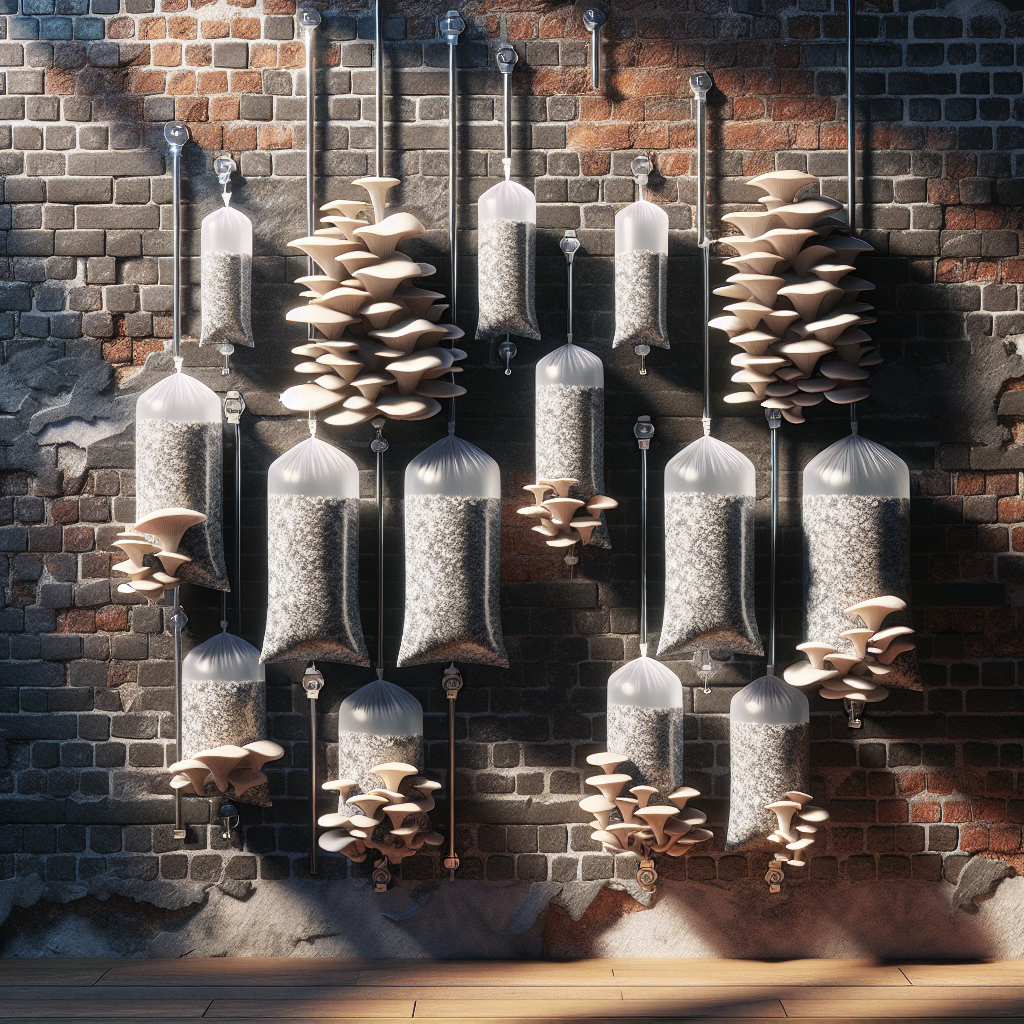
Compact Farming: Maximize Your Limited Urban Space
Space is a luxury in the city, but that shouldn’t stop you from growing your own gourmet mushrooms. Oyster mushroom grow bags take up minimal space and can be hung vertically, allowing you to maximize your growing area. This means more produce in less space—a win for any urban farmer.
Choosing the Right Oyster Mushroom Grow Bag
-
Assess the material: Look for heavy-duty polypropylene plastic that can withstand the humid conditions mushrooms love.
-
Consider the size: Depending on your available space, choose a bag size that will allow your mushrooms to grow without being cramped.
-
Filter patches are key: These allow for gas exchange while keeping contaminants out, so make sure your bag has them.
Material Matters: What Your Grow Bags Are Made Of
It’s not just about the bag—it’s about what the bag is made of. A good oyster mushroom grow bag is typically made from a thick, breathable material like polypropylene. This ensures that your mushrooms get the fresh air they need while keeping out unwanted bacteria and pests.
Size and Scale: Picking the Perfect Bag for Your Space
When it comes to grow bags, size does matter. You want to choose a bag that’s large enough to give your mushrooms room to expand, but not so large that it becomes unmanageable in your space. Typically, a bag measuring around 8” x 5” x 20” strikes a good balance for personal use.
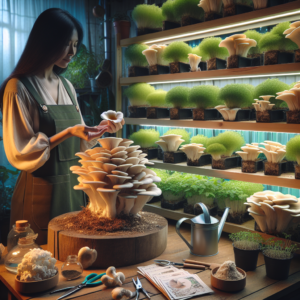
The ABCs of Setting Up Your Oyster Mushroom Grow Bag
Now, let’s get your hands dirty—or, in this case, clean, since working with mushrooms requires a bit of sterility. Setting up your grow bag is a simple process, but it requires attention to detail to ensure success.
Getting Started: What You Need
Before you begin, you’ll need a few supplies:
-
Sterilized substrate: This is what your mushrooms will grow on. Think of it as the soil for your mushrooms.
-
Mushroom spawn: These are the seeds of your mushroom crop.
-
A spray bottle: Mushrooms need a moist environment, and a spray bottle will help you keep humidity levels just right.
With these items in hand, you’re ready to start your urban mushroom farming adventure. Remember, cleanliness is next to mushroom-ness, so keep your workspace and tools as clean as possible to prevent contamination.
Step 1: Preparing Your Grow Bag
First things first, let’s prepare the grow bag. Take your sterilized substrate—typically a mix of straw and sawdust—and fill the bag loosely. You don’t want to pack it too tightly; the mycelium, which is the vegetative part of the fungus, needs room to breathe and grow. Once your bag is filled, seal it up with a strong clip or tie. It’s like prepping a bed for planting seeds, but instead of soil, you’re using a substrate that mushrooms love.
Step 2: Inoculating with Mushroom Spawn
Now for the exciting part—introducing the mushroom spawn to the substrate. This process is called inoculation, and it’s akin to planting seeds in a garden. Open a small section of your grow bag and sprinkle in the spawn, ensuring even distribution for consistent growth. After adding the spawn, reseal the bag and give it a gentle shake to mix everything together. This step is crucial because it’s where life begins for your mushrooms!
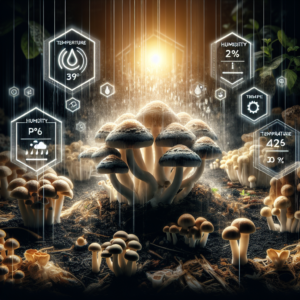
Step 3: Ideal Conditions for Mushroom Growth
Example: One urban farmer found that maintaining a consistent temperature of around 65°F (18°C) and a humidity level of 90-95% was the sweet spot for their oyster mushroom crop. They achieved this by placing the grow bag in a cool, shaded area of their apartment and misting it twice a day.
Mushrooms aren’t too picky, but they do have their preferences. They thrive in a cool, humid environment. Aim for a temperature between 55°F and 70°F (13°C to 21°C), and keep the humidity high—around 90-95%. Light is important, too; mushrooms don’t need much, but a few hours of indirect sunlight or fluorescent light will encourage them to grow.
Keep the grow bag in a place where you can maintain these conditions. You might not have a cave, but a closet or a shaded corner can work just as well. The key is consistency; fluctuations in temperature or humidity can stress your mushrooms, which can affect your yield.
Remember, patience is a virtue in mushroom farming. It can take a few weeks before you see any activity, but when you do, it’s like magic. Those little pins, the baby mushrooms, will start to appear, and from there, they’ll grow rapidly.
Managing Your Oyster Mushroom Grow Bag
Now that your mushrooms are growing, it’s all about maintenance. Keep an eye on your grow bag, and make sure the conditions remain stable. Your mushrooms are depending on you to provide them with a cozy home.
Maintaining Moisture: Watering Your Mushrooms
Mushrooms love moisture, so keeping the humidity up is key. Use a spray bottle to mist the outside of the bag a few times a day. This simulates the moist environment mushrooms would naturally grow in. Just like watering plants, this step is essential for healthy growth. However, avoid overwatering; too much moisture can lead to mold and bacteria, which brings us to our next point.
Fighting Off Fungus Foes: Keeping Contaminants at Bay
Contamination is the arch-nemesis of mushroom cultivation. It can come from anywhere—unsterilized equipment, dirty hands, even the air. To prevent this, always work in a clean space and handle your grow bag with care. If you spot mold or an off smell, it’s likely your bag has been compromised. At this point, it’s best to start over rather than risk the spread of contaminants.
Harvest Time: Reaping the Rewards of Your Effort
After weeks of nurturing, you’re on the brink of enjoying your very own homegrown oyster mushrooms. The anticipation is part of the fun!
When to Harvest: Spotting the Signs of Oyster Mushroom Readiness
Harvest time usually comes around 3-5 weeks after inoculation, but the true indicator is the mushrooms’ appearance. When the edges of the caps start to flatten out, that’s your cue. The mushrooms should be firm, and the caps should have a slight curl. This is when they’re at their peak flavor and texture.
Don’t wait too long, though. If the caps fully unfurl and the edges start to turn upwards, the mushrooms are past their prime. Timing is everything, so keep a close eye on them as they approach maturity.
Harvesting Techniques: Best Practices for Picking Your Mushrooms
Harvesting is straightforward—gently twist and pull the mushrooms from the substrate. Avoid yanking them out, as this can damage the mycelium and affect future crops. Think of it like picking an apple from a tree; a gentle twist is all it takes.
Once harvested, you can store your mushrooms in the refrigerator, but they’re best enjoyed fresh. Sauté them, grill them, or add them to your favorite dishes. The taste of fresh oyster mushrooms that you’ve grown yourself is unbeatable.
What’s Next After the Harvest?
After you’ve harvested your mushrooms, don’t throw that grow bag away just yet. It can often support another round or two of growth. Simply give it a rest for a week, then start the misting process again. With a bit of luck and care, you’ll be rewarded with another flush of mushrooms.
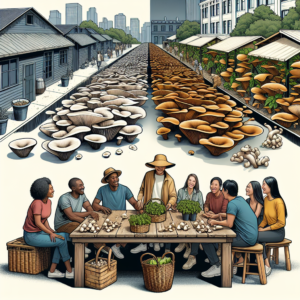
Urban farming with oyster mushroom grow bags is more than just a hobby; it’s a sustainable practice that brings fresh, nutritious food right to your doorstep. And who knows? Your urban mushroom farm might just inspire others in your community to start their own. Happy farming!
Post-Harvest: Preserving Your Mushrooms
Once you’ve harvested your oyster mushrooms, you might wonder what’s the best way to keep them fresh. The key is to preserve their texture and flavor until you’re ready to enjoy them. Store your bounty in the refrigerator, ideally in a paper bag which allows for some air circulation. This helps to prevent moisture buildup, which can lead to spoilage. If you’ve harvested more than you can use promptly, consider drying or pickling them for long-term storage.
Preparing for the Next Cycle: Reusing Your Grow Bag
After the harvest, your grow bag still contains a network of mycelium, which can produce more mushrooms. To encourage a new flush, rest the bag for a week or two. Then, resume misting and maintaining the proper environment. Keep in mind, each subsequent harvest might be smaller than the previous one, but it’s a wonderful way to maximize the yield of your grow bag. After a couple of cycles, when production wanes, you can compost the spent substrate and start anew.
FAQ
Got questions? You’re not alone. Here are some common queries from fellow urban mushroom farmers.
Can oyster mushroom grow bags be used outdoors?
Yes, oyster mushroom grow bags can be used outdoors, provided they are kept in a shaded, moist area. However, you’ll need to be more vigilant about pests and weather conditions that could disrupt the delicate balance needed for mushroom growth.
Outdoor cultivation can be rewarding, but remember, consistency is key. If you live in an area with unpredictable weather, you might want to stick to indoor cultivation to maintain control over the growing conditions.
How many times can a single oyster mushroom grow bag be used?
A single oyster mushroom grow bag can typically be used for two to three flushes of mushrooms. After that, the nutrients in the substrate will be depleted, and the risk of contamination increases. At this point, it’s best to compost the old substrate and start fresh to ensure the health of your mushrooms.
Keep an eye on the bag’s condition, too. If you notice any tears or if the filter patch is compromised, it’s time to retire that bag.
It’s worth noting that some growers have experimented with adding fresh substrate or coffee grounds to extend the life of the bag, but results can vary.
-
First flush: Usually the most abundant and vigorous.
-
Second flush: Slightly smaller yield, still high quality.
-
Third flush: Yield and mushroom size may diminish; watch for signs of substrate exhaustion or contamination.
What are the signs of contamination in mushroom grow bags?
Contamination is a common issue in mushroom cultivation. Be on the lookout for:
-
Off-color mold, usually green or black, which indicates the presence of competitor fungi or mold.
-
A sour or unpleasant smell coming from the bag, which can signal bacterial growth.
-
Mushrooms that look unhealthy or have abnormal growth patterns.
If you spot these signs, it’s best to dispose of the bag to prevent the spread of contaminants to other grow bags or areas of your home.
Do I need to add additional nutrients to my grow bag?
Typically, the substrate in your oyster mushroom grow bag is formulated to provide all the necessary nutrients for a full cycle of mushroom growth. Adding extra nutrients isn’t usually required and can sometimes upset the balance, leading to contamination or poor mushroom development.
How long does it take to grow oyster mushrooms in a grow bag?
Oyster mushrooms are relatively fast growers. From inoculation to the first harvest, it typically takes about 3-5 weeks. Keep in mind that factors such as temperature, humidity, and the freshness of the spawn can affect the growth rate.
Patience is a virtue in mushroom cultivation, but when you slice into your first homegrown oyster mushroom, you’ll know it was worth the wait. With each new flush, you’ll gain more experience and satisfaction from your urban farming efforts.
Urban farming with oyster mushroom grow bags is an adventure in sustainability and self-sufficiency. It’s a simple, yet profoundly impactful way to connect with your food and the environment. So, roll up your sleeves, and let’s grow some mushrooms!